Installation Guide
If you are looking to upgrade from a deprecated version (before v2.1) please review the upgrade notes which are located here.
Prerequisite: Zendesk TPE License
To use the Amazon Connect app with Zendesk Support you need a valid Talk Partner Edition (TPE) license. Without it the app will not be able to show (pop) a recognised user on incoming call, or create a ticket. Instead, it will display a warning similar to the screenshot below:
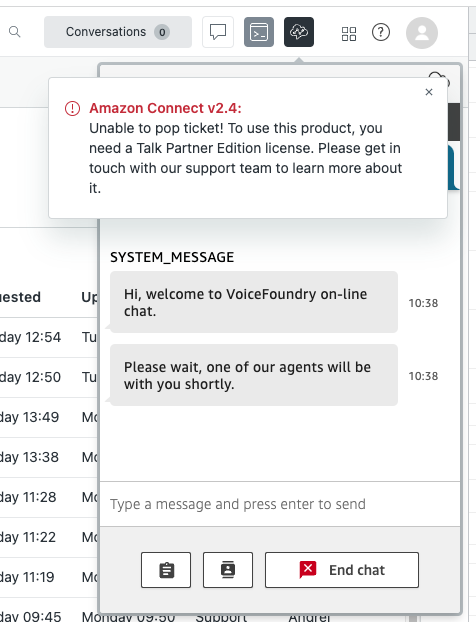
Please contact your Zendesk support team if you’re unsure about your TPE license status.
Installing the Amazon Connect app
You need to have administrator access in your AWS account in order to install the app.
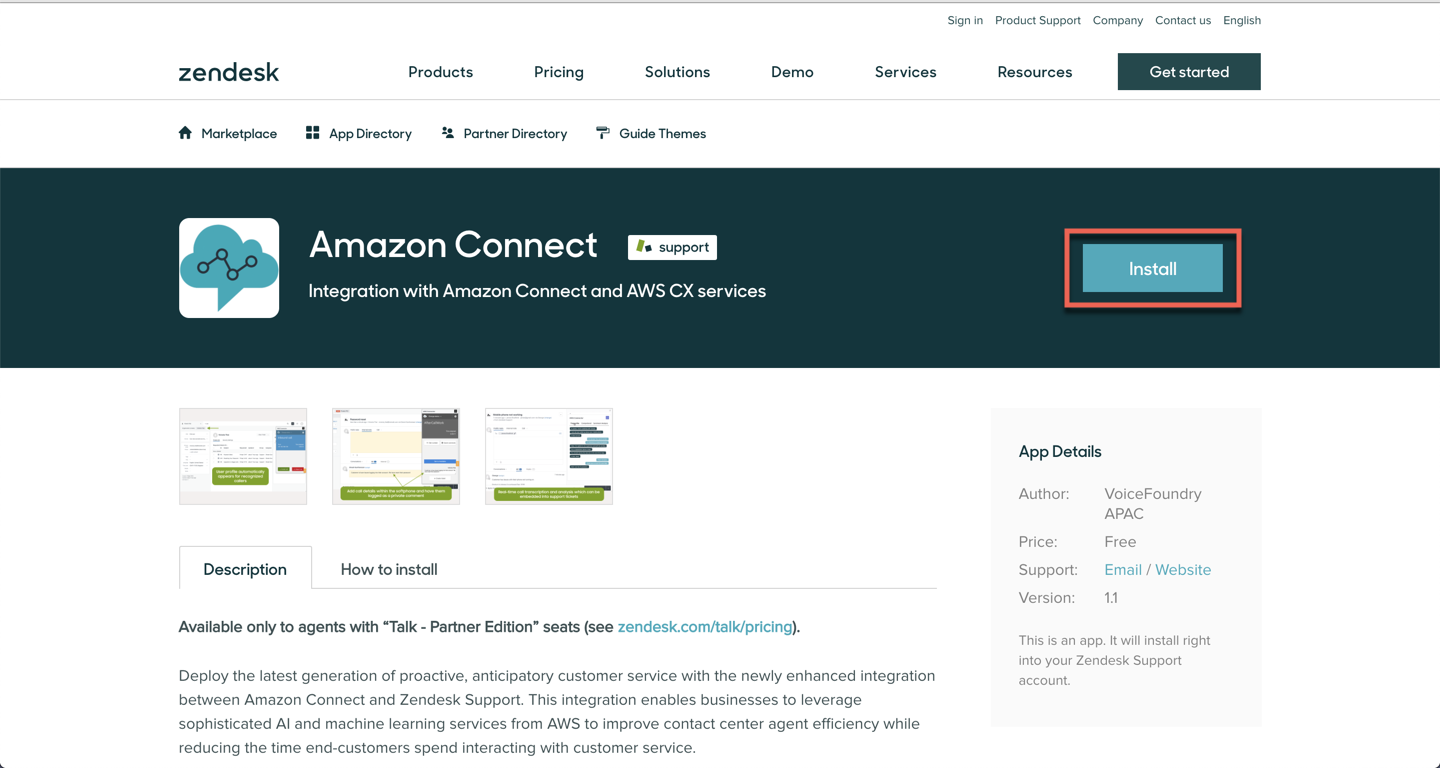
Search for the Amazon Connect app in the Zendesk Marketplace and click on install.
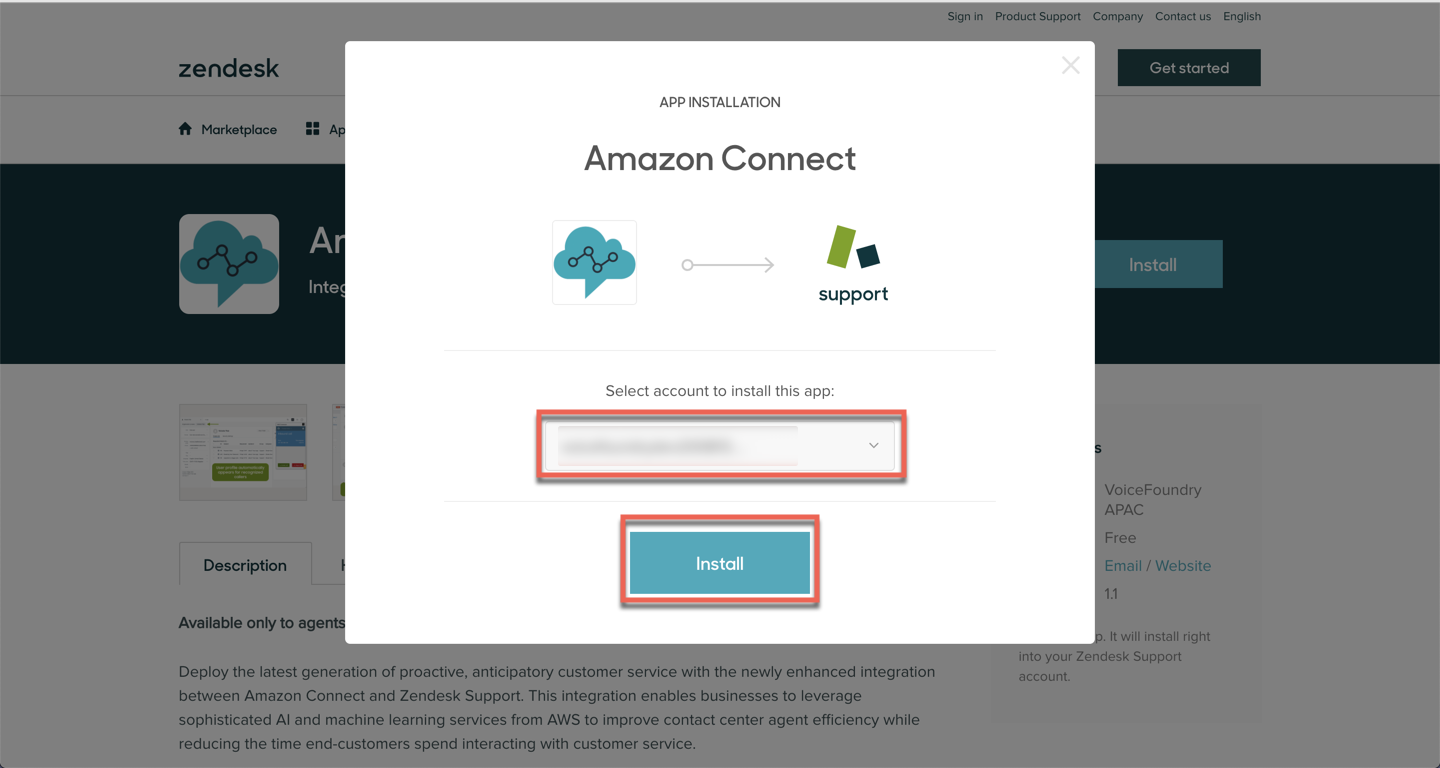
Select the Zendesk instance you want to install this app in and click on install.
Configure the app’s settings
Configure the below settings for the app.
1. Amazon Connect URL
Enter the Amazon Connect URL that you want to connect with your Zendesk account.
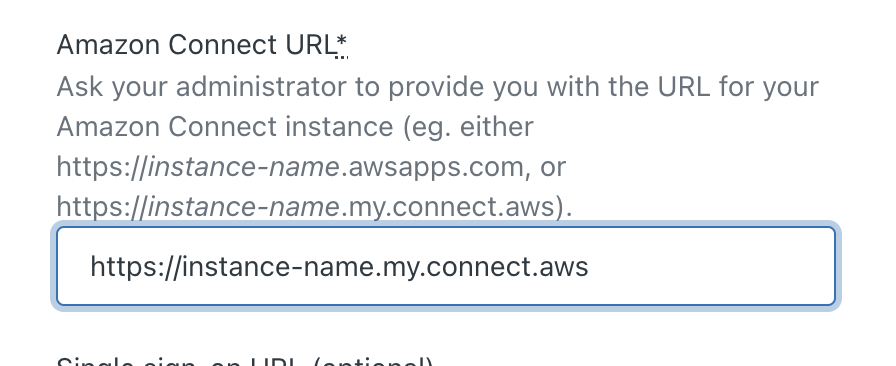
The URL for your Connect instance should be in the following format https://instance-name.my.connect.aws or for older instances it may be https://instance-name.awsapps.com however you should follow the AWS instructions to use the new domain format.
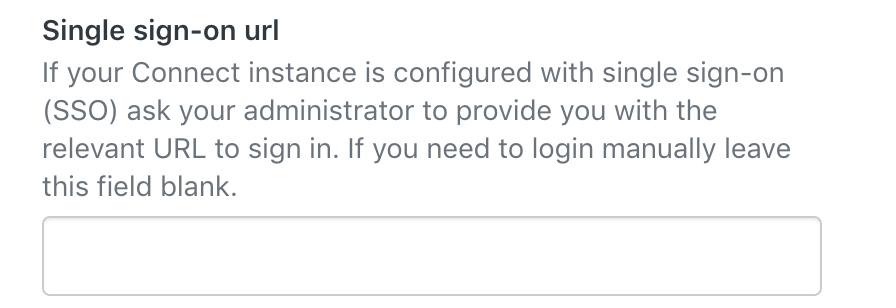
2. Single sign-on URL (optional)
This field is only required if your Connect instance is configured with single sign-on (SSO). Enter the SSO URL for your Connect instance from your Identity Provider (IDP). This is not the URL of the Amazon Connect instance.
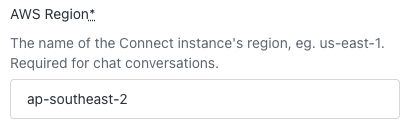
3. AWS Region
The name of the Connect instance's region, eg. us-east-1.
4. Default entry point phone number
Enter the call centre number that will be reported in tickets as the number that the call was dialled from in outbound calls and the number that was called in inbound calls. This must be in E.164 format
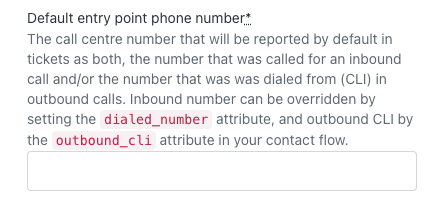
For inbound calls this can be overridden by setting the dialed_number attribute in your contact flow. Likewise, for outbound calls it can be overridden by setting the outbound_cli attribute with the value of Queue Outbound Number system attribute in your outbound whisper flow. (see the sample outbound whisper flow available here)
5. Default country dialling prefix (optional)
If set, this prefix will be used when making outbound calls in Zendesk for users whose phone numbers are in your local format. E.g. adding +61 for Australia.
.png?inst-v=c68211a4-40ea-467f-901c-a9ab519fa700)
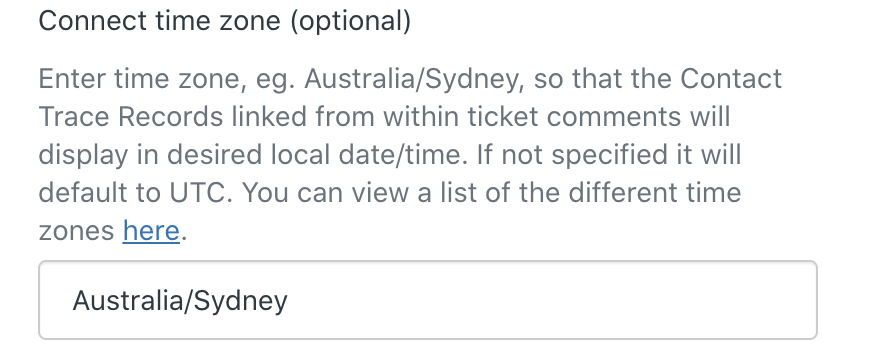
6. Connect time zone (optional)
Enter your time zone, eg. Australia/Sydney, so that the Contact Trace Records linked from within ticket comments will be displayed in your local date/time. If this is not specified it will default to UTC. You can view a list of the different time zones here.
7. Create ticket after minutes (optional)
This setting controls whether a recent ticket of a recognised caller should be opened instead of creating a new one. E.g. setting this to 15 means that a new ticket will be created if there hasn’t been a ticket created or updated in the last 15 minutes for that user. It can be overridden by setting the recent_ticket_timeout attribute in your contact flow.
.png?inst-v=c68211a4-40ea-467f-901c-a9ab519fa700)
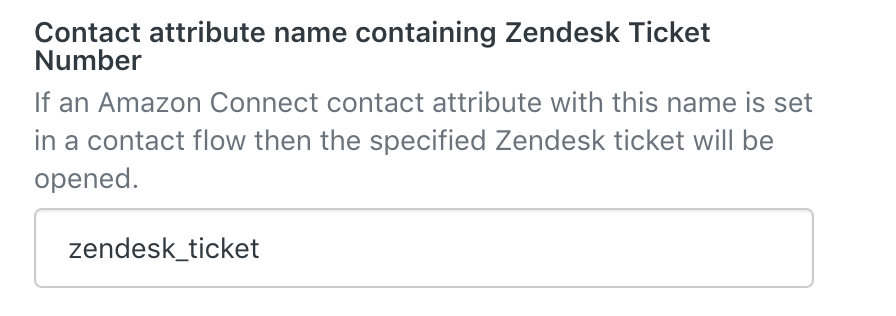
8. Contact attribute name containing Zendesk ticket number (optional)
If this attribute is set in a contact flow the ticket number specified will be opened, instead of creating a new one.
NOTE: the name of this attribute can be changed in the corresponding app setting.
9. Enable media-less mode (optional)
Select this option if you are using your Zendesk account in a VDI environment. This option will also allow you to reload your Zendesk instance without interrupting a live call as well as preventing duplicate tickets from being created if you have more than one tab of Zendesk open in your browser. See detailed steps further in this document on how to sign in to Zendesk if you have media-less mode enabled.
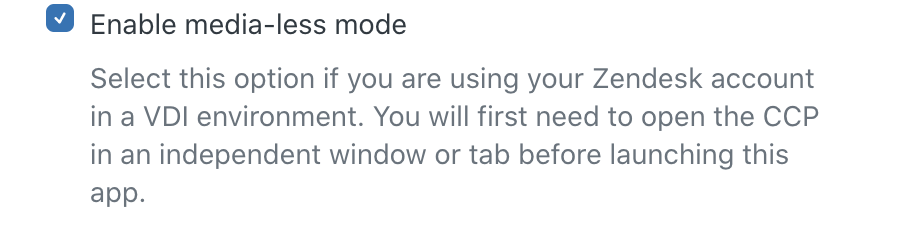
If you have media-less mode enabled, ensure you first log in to the CCP in an independent window or tab before launching this app in Zendesk, otherwise the app will not function correctly.
10. Prevent microphone standby while not on a call (optional)
Microphone standby is a recent feature introduced by the Amazon Connect team that pre-configures microphone media stream before the contact arrives, reducing setup time for both incoming and outgoing calls.
Select this option if you have issues with your audio equipment such as headsets. This can sometimes happen in other apps such as MS Teams while Zendesk with Connect app is running in the background. When the checkbox is ticket, the app will only use the microphone while the agent is on a call.

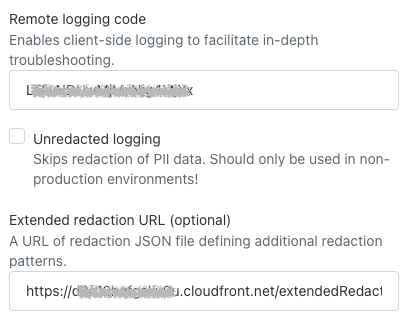
11. Configure remote logging (optional)
Remote logging facilitates troubleshooting of hard to reproduce, client-specific issues out. This capability comes with the following features:
Disabled by default: Upon installation (or upgrade from a previous version), app logging is turned off. No logging will take place until the client explicitly turns it on by entering a provided short-term code.
Redacted by default: when the client turns on the remote logging, all PII data contained in logs will be scrubbed - their contents replaced by a string
[redacted]. Redaction can be turned off in non-production environments where only test (mock) data is used.Extensible redaction configuration: redaction algorithm will automatically scrub PII data commonly found in Zendesk CRM data store. In addition, client can specify their own rules for redaction in a configuration file.
Note: remote logging code is a short-term code provided to you during an issue triage. It expires after a set number of days.
See more details.
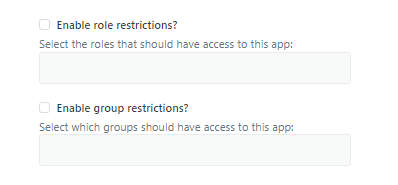
12. Enable Role & Group Restrictions
If you wish to have granular permissions to only allow certain groups or roles, access to this app, please configure them here.
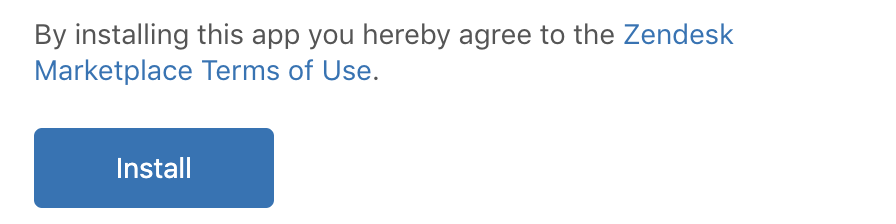
Once you have configured the app’s settings, review the Zendesk Marketplace Terms of Use and then click on install.
Whitelist URL’s in Connect
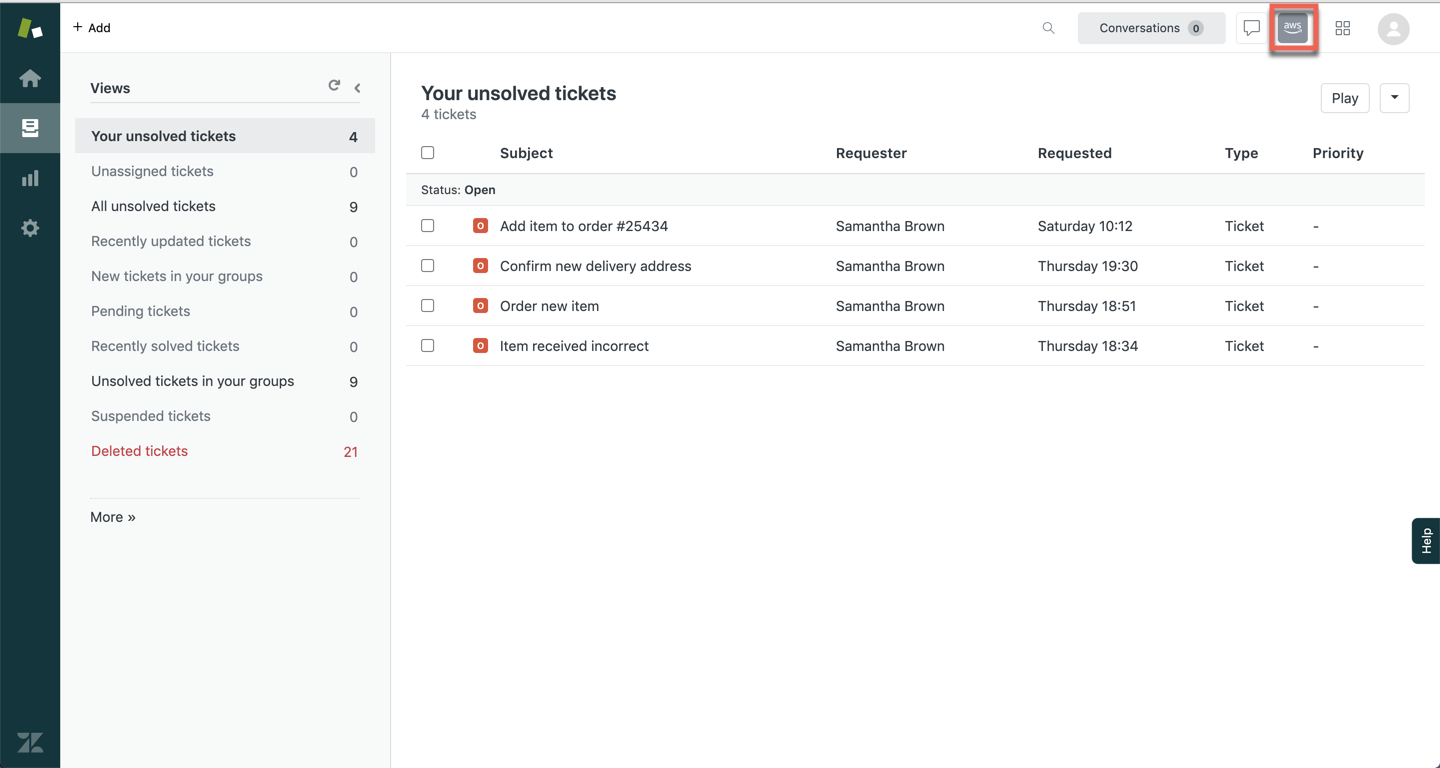
Click on the Amazon Connect app icon in the top right corner of your Zendesk instance.
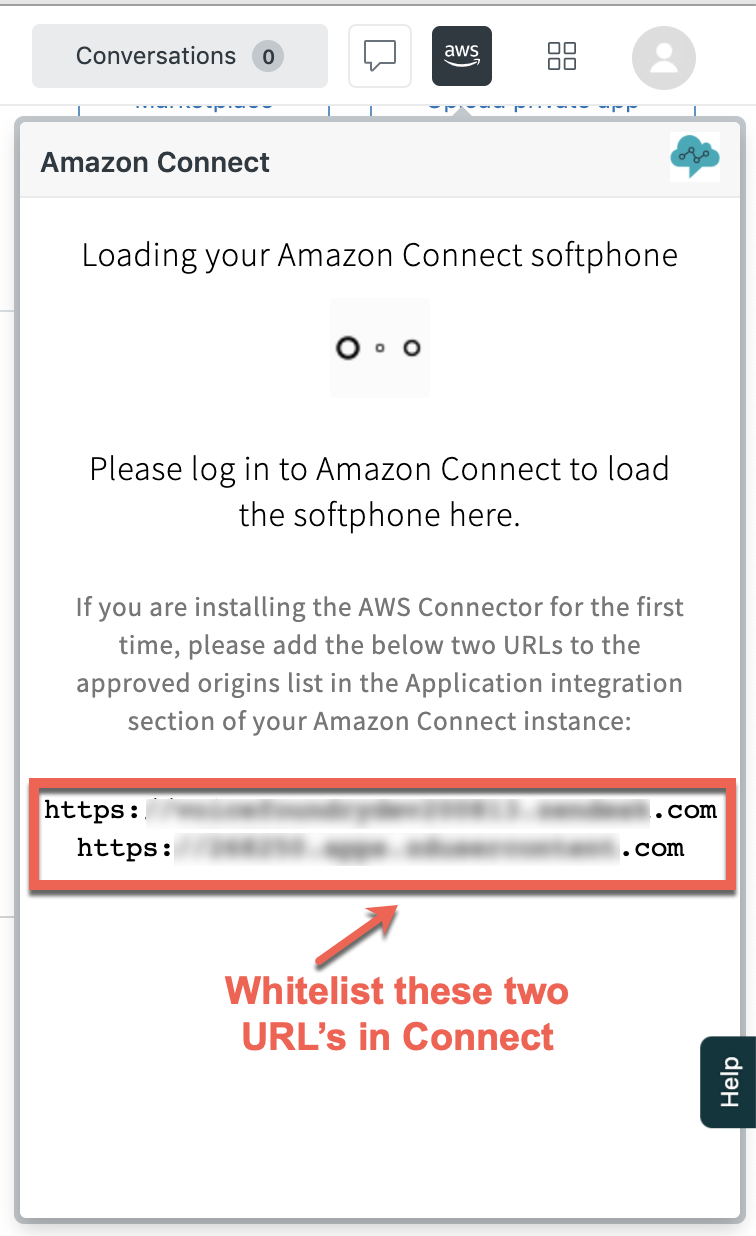
The app will display two URLs which need to be whitelisted in your Connect instance.
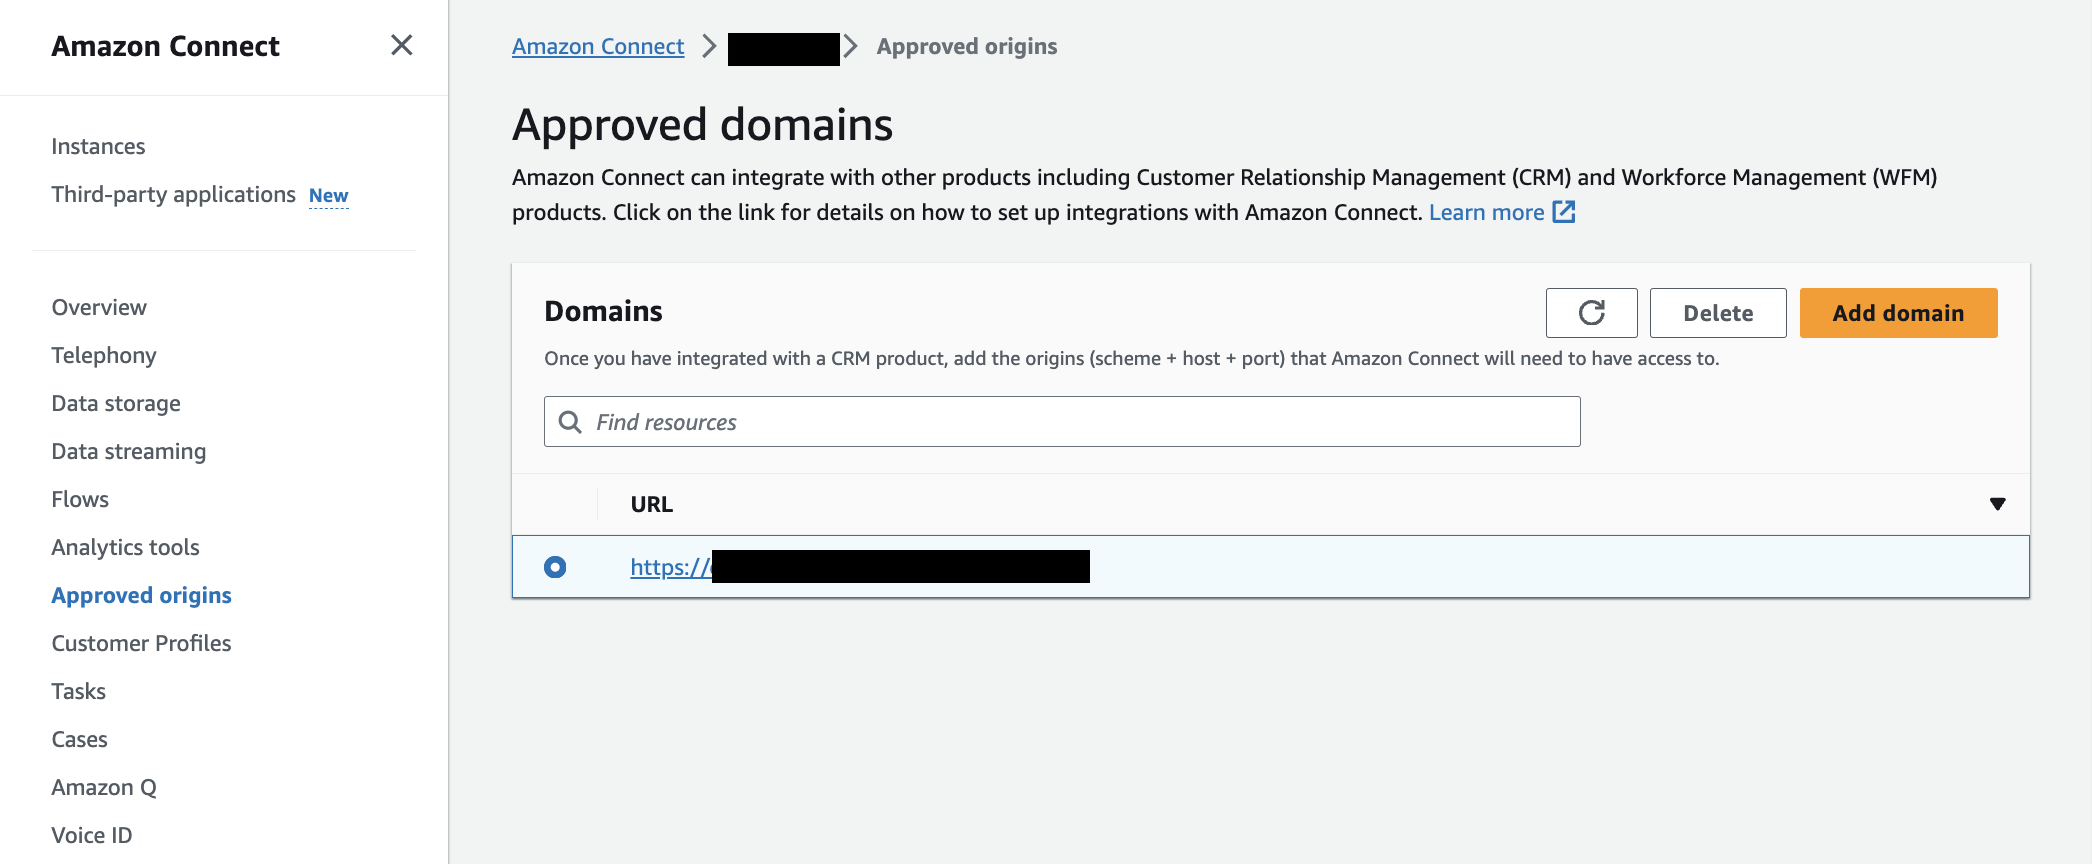
Sign in to your AWS account, go to Amazon Connect and click on the Connect instance you are integrating with..

Click on Approved Origins on the left hand side menu, and then Click on Add domain
You need to add both URLs from the app’s loading screen so you have two entrys showing.
Refresh your Zendesk instance. Depending on your authentication method for Amazon Connect, you will be prompted to either enter your username and password or if you entered the SAML (SSO) URL in the application configuration, the Amazon Connect CCP will load.
After you have successfully signed in to Amazon Connect the tab will automatically close. The Amazon Connect app should now load in Zendesk.
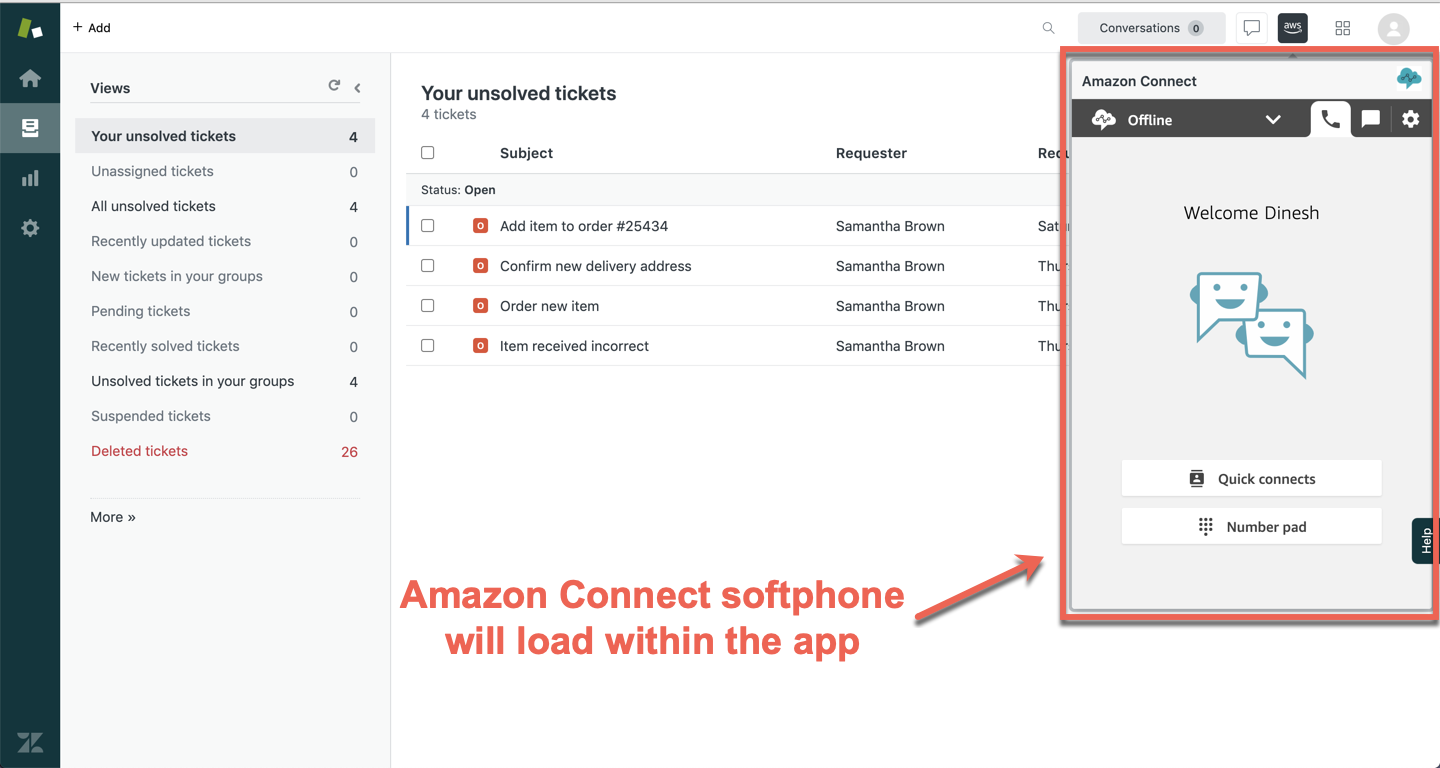
You are now ready to receive inbound calls and make outbound calls within Zendesk using the Connect softphone.